Building a new home is the rare chance to design every detail before the first nail gets driven. Unlike renovations, where you’re ripping out someone else’s choices, new construction lets you wire for chandeliers in the right spot, pick cabinet depths that actually fit your dishes, and avoid the beige builder-grade trap from the start. But that freedom can feel overwhelming. The trick is making design decisions in the right order, while the framing’s still exposed and change orders won’t cost a fortune. This guide walks through the practical steps to plan, select, and execute interior design that turns blueprints into a home you’ll love for decades.
Table of Contents
ToggleKey Takeaways
- New construction interior design offers a rare blank slate opportunity to plan structural details like electrical circuits, plumbing, and blocking before drywall closes, saving thousands on change orders.
- Lock in high-impact decisions during the pre-drywall phase—outlet locations, ceiling backing, door swings, and built-in features—since modifications after framing becomes expensive and disruptive.
- Establish a material and finish schedule early, coordinating flooring, cabinetry, countertops, and tile selections with the construction timeline, as these items often have 8–12 week lead times.
- Layer your lighting design with ambient, task, and accent fixtures during rough-in to avoid costly additions later; run conduit for smart home upgrades while framing is still exposed.
- Avoid trendy design choices in permanent fixtures; invest in quality foundational materials like flooring and cabinetry, while reserving personality for paint, hardware, and decor that can be updated affordably.
Why New Construction Offers Unique Interior Design Opportunities
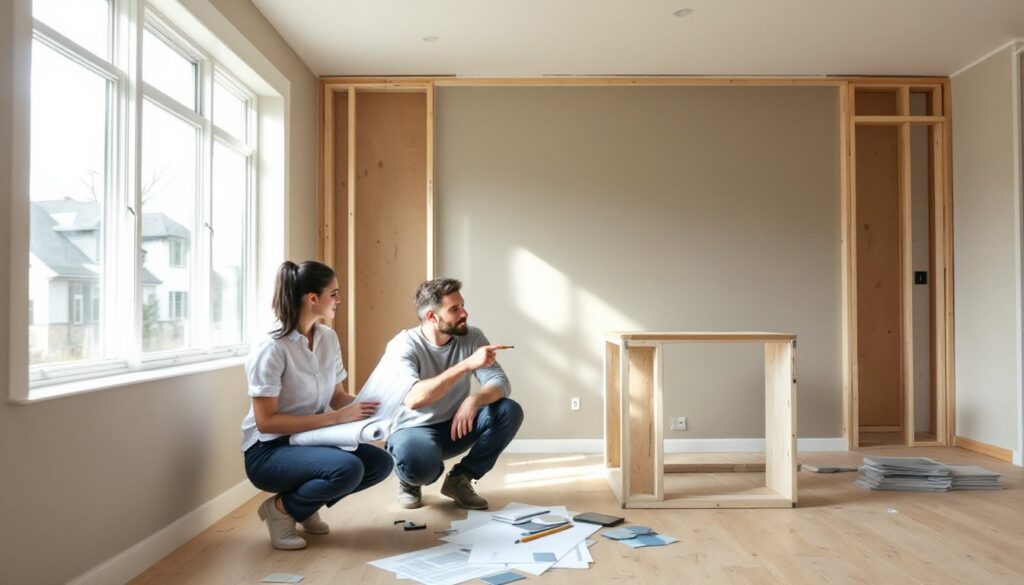
New construction gives homeowners a blank slate that’s rare in the design world. There’s no need to work around outdated electrical systems, mystery plumbing, or mismatched trim profiles. Instead, designers and homeowners can specify stud spacing for heavy tile, plan blocking for wall-mounted vanities before drywall goes up, and coordinate finishes before the general contractor orders materials.
The window for impactful decisions is narrow but powerful. Once framing is inspected and closed up, adding a ceiling junction box or relocating a door becomes expensive and disruptive. Smart homeowners use the pre-drywall phase to lock in structural choices: backing for grab bars in bathrooms, dedicated circuits for kitchen appliances, or even conduit runs for future smart home upgrades.
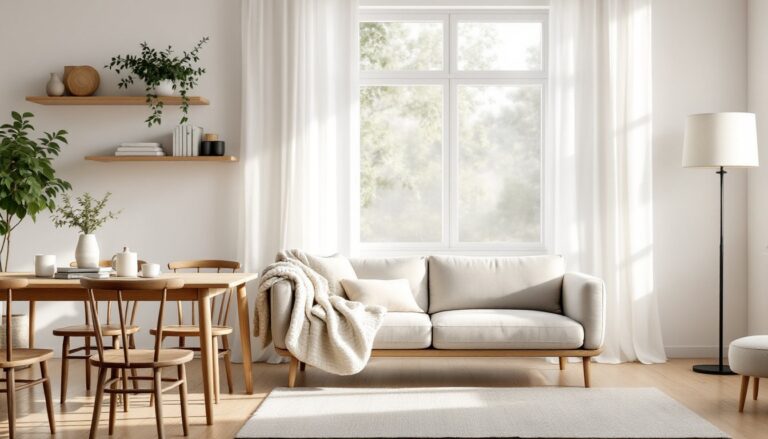
Another advantage: cohesion. When every floor, fixture, and finish is selected together, the home feels intentional rather than assembled over time. Paint sheens match across rooms, door hardware aligns with cabinet pulls, and flooring transitions make sense. For anyone drawn to modern design aesthetics, this level of coordination is essential.
Finally, new construction often means access to advanced building techniques like open-web floor joists, which allow ductwork and plumbing to run without dropped ceilings, a huge win for clean sightlines and taller room volumes.
Planning Your Interior Design Before Construction Begins
The most successful new-build interiors start with a detailed plan before the foundation is poured. Begin by creating a room-by-room design brief that includes function, traffic flow, and must-have features. A kitchen might need a 48-inch range, a butler’s pantry, or an island with seating for four. A primary bath might require double sinks, a freestanding tub, and a walk-in shower with a bench.
Work closely with the architect or designer to translate those needs into the floor plan. This is the time to adjust door swings, add extra outlets, and confirm that furniture layouts will work. For example, a sectional sofa won’t fit in a narrow living room, and a king bed won’t clear a closet door if the bedroom is under 12 feet wide.
Next, establish a material and finish schedule early. Builders often provide a list of standard selections, like builder-grade carpet and chrome faucets, with upgrade options. Review this list and decide where to invest. High-traffic areas benefit from engineered hardwood or luxury vinyl plank (LVP), while carpet is fine for bedrooms. Kitchens and baths deserve upgraded cabinetry and countertops: those surfaces endure daily wear.
Coordinate your design with the construction timeline. Flooring, tile, countertops, and cabinetry often have 8- to 12-week lead times, especially for custom or semi-custom orders. Waiting until framing is done to pick a vanity can delay your entire project. For inspiration on maximizing smaller layouts, research how space planning affects material choices.
Selecting Flooring, Cabinetry, and Built-In Features
Flooring and cabinetry anchor a home’s interior aesthetic and account for a significant portion of the budget. Choose wisely, because swapping these later is costly.
Flooring: Match material to room function. Solid hardwood (typically 3/4-inch thick) adds resale value but can’t go below grade or in high-moisture areas. Engineered hardwood (a plywood core with a hardwood veneer) is more stable and works over radiant heat or in basements. Luxury vinyl plank mimics wood or stone, resists water, and installs over most subfloors, ideal for kitchens, baths, and laundry rooms. Tile works well in entries and wet areas: choose porcelain over ceramic for durability and stain resistance. If the builder is using 3/4-inch tongue-and-groove OSB subfloor, confirm it’s rated for your finish floor and that the joist spacing (typically 16 inches on center) meets deflection requirements.
Cabinetry: Stock cabinets ship fast and cost less but come in fixed sizes. Semi-custom cabinets offer more door styles, finishes, and size increments. Full custom cabinetry is built to exact specs, necessary for odd layouts or high-end design. Specify soft-close hinges and drawer glides (standard on most mid-grade and up), dovetail drawer boxes, and a durable finish like catalyzed conversion varnish. Cabinet depth matters: standard base cabinets are 24 inches deep, but islands can go deeper (30 to 36 inches) for more storage and overhang seating.
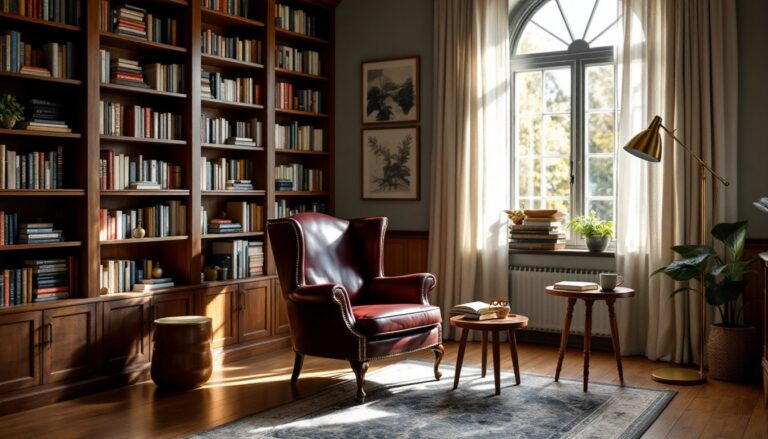
Built-ins: Plan for recessed niches in showers, floating shelves with concealed brackets, or a media alcove with backing for a wall-mounted TV. These features require blocking or framing adjustments before drywall. Mention them in your design brief and confirm them on the framing walk-through.
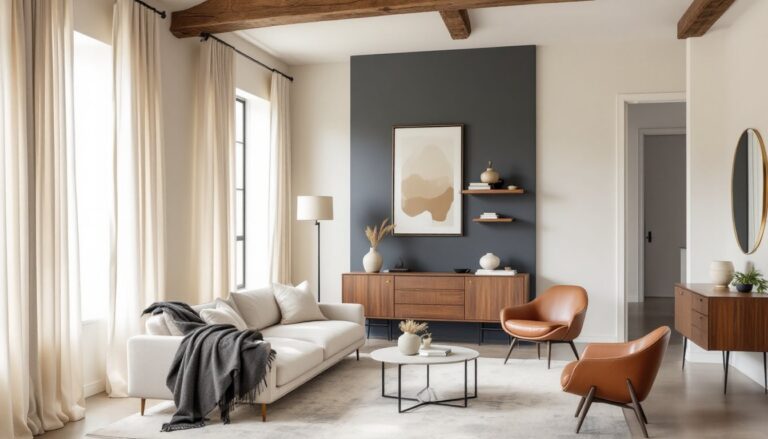
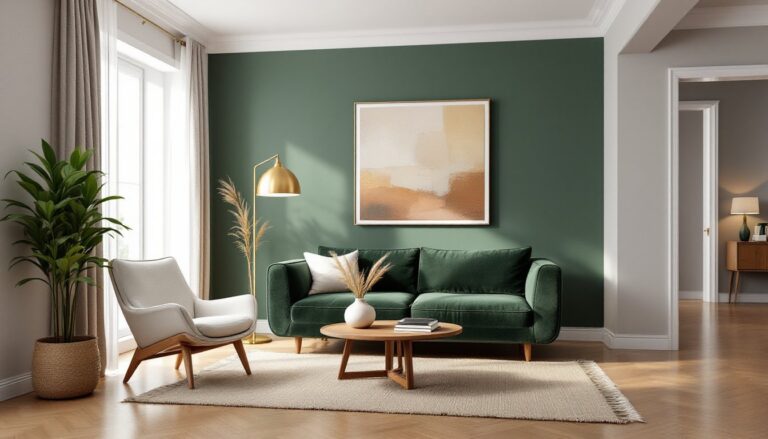
Choosing Paint Colors and Finishes for a Cohesive Look
Paint is the most affordable way to unify a new home’s interior, but it’s also the easiest place to make a costly mistake. Choosing too many colors creates visual chaos: sticking to one or two neutrals can feel flat.
Start with a whole-home palette: typically a primary neutral for main living areas, a lighter or darker shade for bedrooms, and an accent or two for powder rooms or offices. Many designers recommend a warm white or greige (gray-beige) as a base, it pairs well with most flooring and cabinetry. Test samples in each room at different times of day: natural light shifts color dramatically.
Sheen matters as much as hue. Use flat or matte on ceilings to hide imperfections. Eggshell is the workhorse for walls, durable enough to wipe down, subtle enough to avoid glare. Satin works in kitchens, baths, and trim because it resists moisture and scrubs clean. Semi-gloss is reserved for doors, baseboards, and cabinetry in high-use areas. Glossier finishes highlight flaws, so make sure drywall is finished to a Level 4 or Level 5 smooth before top-coating.
Coordinate paint with fixed finishes. If cabinetry is a cool gray, a warm beige wall color will clash. If countertops have heavy veining, keep walls simple. For ideas on cohesive color schemes, look at model homes and design blogs that photograph finished spaces in natural light.
Order enough paint in one batch. A single color mixed at different times can vary slightly, and touch-ups later might not match perfectly. Coverage is typically 350 to 400 square feet per gallon for walls: ceilings and textured surfaces use more.
Lighting Design: Hardwiring for Function and Ambiance
Lighting is often an afterthought in new construction, and that’s a mistake. The time to plan circuits, junction boxes, and dimmer switches is before drywall goes up. Once walls are closed, adding a ceiling fixture or undercabinet lights means cutting holes and patching, or settling for plug-in lamps.
Layer your lighting: ambient (overhead or recessed), task (under-cabinet, vanity, reading), and accent (picture lights, cove lighting). In the kitchen, plan recessed LED downlights on a 4-foot grid, undercabinet LED strips on a dedicated switch, and a pendant or chandelier over the island. In bathrooms, avoid a single overhead can light: it casts shadows. Instead, use vertical sconces flanking the mirror and a separate recessed light over the shower.
Recessed cans are popular but easy to overdo. A 6-inch LED retrofit can typically lights a 6-by-6-foot area: space them accordingly. For higher ceilings (9 feet or more), consider adjustable gimbal trims to direct light where needed. All recessed fixtures in insulated ceilings must be IC-rated to prevent fire hazards, and any fixtures in showers or exterior soffits need appropriate wet or damp ratings per the National Electrical Code (NEC).
Dimmer switches add flexibility and should be standard on all main living areas. LED bulbs require compatible dimmers, not all work with older rotary dimmers. Specify this with the electrician.
Think about future needs. Run conduit or low-voltage wiring for smart lighting, speakers, or motorized shades during rough-in. It’s cheap now, expensive later. For design-forward homes, statement lighting becomes both function and art.
Common Mistakes to Avoid in New Construction Interior Design
Even with a blank slate, mistakes happen. Here are the most common pitfalls and how to dodge them.
Skipping the pre-drywall walk-through. This is your last chance to see framing, wiring, and plumbing before it’s covered. Bring your plans, check outlet locations, confirm blocking for shelves or TVs, and verify that door swings make sense. If something’s wrong, catching it now saves thousands.
Choosing trendy over timeless. Bold accent walls and ultra-modern fixtures can feel dated fast. Stick to classic profiles for trim, doors, and cabinetry. Save personality for paint, hardware, and decor, items you can swap without a contractor.
Ignoring scale and proportion. A massive sectional won’t fit in a 12-by-14-foot living room. An oversized chandelier will overwhelm a small dining nook. Before you fall in love with a piece, measure the space and the furniture. Use painter’s tape on the floor to visualize footprints.
Under-specifying electrical. Builders install the minimum: one outlet per wall, maybe. Add extras in the kitchen (small appliances), home office (computer, printer, monitor), and media areas. Include USB outlets where you’ll charge devices and GFCI outlets within six feet of water sources per code.
Cutting corners on foundational materials. Saving $2 per square foot on subpar flooring or skimping on quality paint means you’ll repaint or replace sooner. Invest where it counts: flooring, cabinetry, countertops, and plumbing fixtures endure daily use.
Forgetting window treatments. New homes often lack blinds or curtains. Budget for these and plan mounting hardware early, some treatments need ceiling-mounted tracks or extra-deep brackets. Thinking through interior architecture details during construction can prevent these oversights.
Conclusion
Designing the interior of a new construction home is equal parts exciting and logistically intense. The payoff, a space tailored to how you actually live, makes the effort worthwhile. Prioritize decisions that can’t be changed later, plan around the construction timeline, and don’t skip the details that turn a house into a home. Get it right from the studs out, and you’ll enjoy the results every day.