
Designing a kid’s room is part blueprint, part imagination workshop. It’s where superhero capes meet assignments desks and LEGO empires sprawl across the floor. But a functional, well-designed kids’ room goes beyond slapping bright paint on the walls, it requires thoughtful layout planning, smart storage, and furniture that grows with them. Whether you’re converting a nursery into a big-kid bedroom or refreshing a tween’s outdated <a href="https://homesteadhug.com/kitchen-design/”>space, the right design balances play, study, and rest without feeling like an IKEA showroom. The good news? Most of these improvements are DIYer-friendly, requiring basic tools and a weekend or two of effort.
Table of Contents
ToggleKey Takeaways
- Kids room interior design requires thoughtful layout planning with three distinct zones—sleep, play, and study—each positioned for optimal function and safety.
- Choose neutral base colors (soft grays, warm whites, light taupes) and contain character themes to removable elements like bedding and wall decals so the room can evolve with your child’s changing interests.
- Invest in durable, multifunctional furniture made from solid wood or quality plywood, and anchor all tall pieces to wall studs to prevent tip-over accidents that occur every 24 minutes.
- Layer storage solutions using cubbies, labeled bins, adjustable shelving, and under-bed drawers to keep clutter manageable while keeping items within reach for independent cleanup.
- Implement layered lighting with dimmable overhead fixtures, task lighting for desks, and warm-temperature nightlights (2700-3000K) to support play, study, and restful sleep.
- Personalize the space affordably through DIY projects like gallery walls, floating shelves, chalkboard paint, and machine-washable textiles that can be easily updated without major renovations.
Planning Your Kids Room Layout for Function and Fun
Start by measuring the room, actual dimensions, not guesses. Map out door swing clearances, window placement, and any existing outlets or light switches. You’ll want at least 36 inches of clearance around the bed for changing sheets and getting in and out easily. If the room is under 100 square feet, skip bulky furniture and opt for wall-mounted or multipurpose pieces.
Zone the room into three areas: sleep, play, and study. The sleep zone should be away from windows (to minimize early morning wake-ups) and ideally in a quieter corner. The study zone needs good natural light, so position a desk near a window if possible. The play area works best in an open section of the floor where kids can spread out without tripping over furniture.
If you’re working with a shared room, consider a bunk bed or loft bed configuration to free up floor space. Make sure any bunk meets ASTM F1427 safety standards, with guardrails at least 5 inches above the mattress surface. For younger kids, keep the sleep area visible from the doorway, parents appreciate line-of-sight when checking in at night.
Choosing the Right Color Scheme and Theme
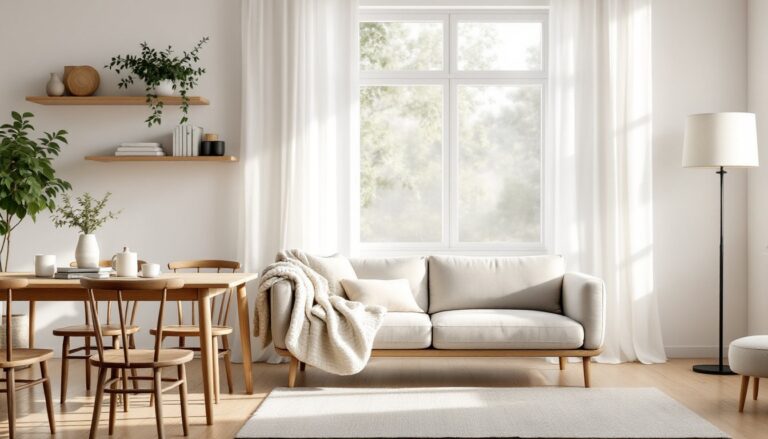
Skip the cartoon character bedding that’ll be obsolete in six months. Instead, build a palette around 2-3 core colors that can evolve with your child’s interests. Neutral base colors, soft grays, warm whites, or light taupes, give you flexibility to swap accent colors as tastes change.
For younger kids, washable paint is non-negotiable. Look for paints labeled “scrubbable” or those with an eggshell or satin finish, which hold up better to sticky fingers than flat paint. Brands like Sherwin-Williams Emerald and Benjamin Moore Aura offer solid durability, though any quality <a href="https://homesteadhug.com/cozy-minecraft-interior-design/”>interior latex with a stain-resistant formula will work.
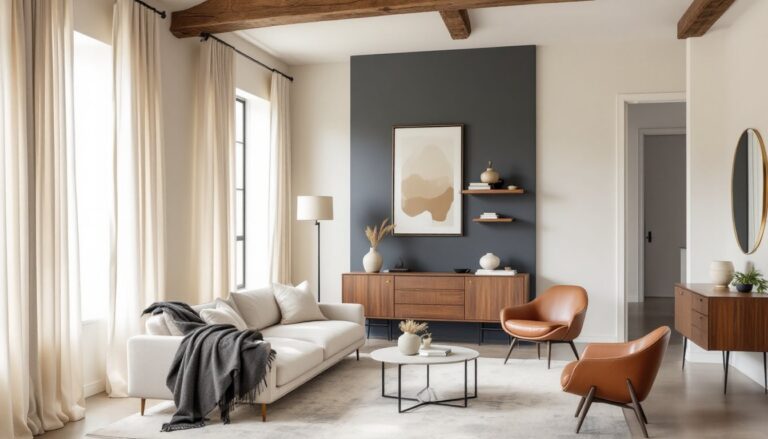
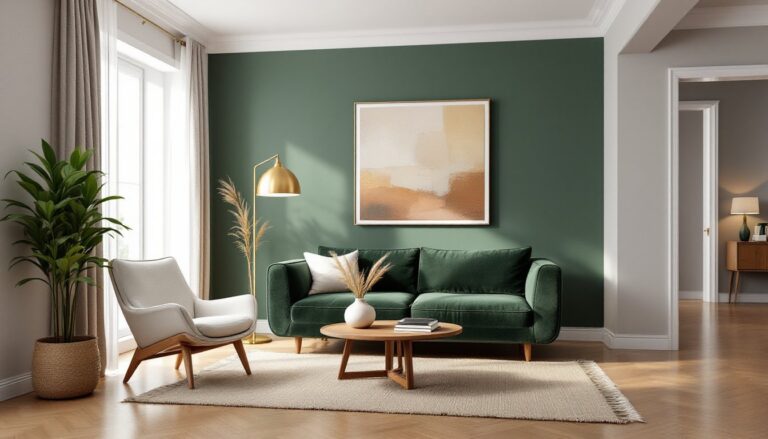
Themes don’t have to mean wall-to-wall ocean murals. A nautical theme, for example, can be as simple as navy blue accents, rope drawer pulls, and some striped textiles. Much like planning a cozy interior space for adults, layering textures and colors creates depth without overwhelming the room. If your kid insists on a specific character or trend, contain it to removable elements, bedding, curtains, wall decals, that won’t require a full repaint when interests shift.
Smart Storage Solutions That Keep Clutter at Bay
The average kid’s room accumulates toys, books, art supplies, and clothes faster than a garage collects half-empty paint cans. Without a storage plan, you’re just shuffling chaos.
Cubbies and bins are the workhorses of kids’ storage. Install a grid of cubby shelves (like the IKEA Kallax or similar modular units) and pair them with labeled fabric bins. Kids are more likely to clean up when they know exactly where things go. Mount shelves 48 inches or lower for younger children so they can reach without climbing.
Closet systems pay off in the long run. Add a second hanging rod at a lower height (around 40 inches) so kids can hang their own clothes. Use the upper rod for out-of-season items. Adjustable shelving, like ClosetMaid or Rubbermaid systems, can be reconfigured as needs change, today’s stuffed animal shelf becomes tomorrow’s sneaker rack.
Don’t overlook under-bed storage. Rolling bins or shallow drawers (6-8 inches tall) slide easily under most beds and keep seasonal clothes, extra bedding, or less-used toys out of sight. If you’re building or buying a bed frame, look for models with integrated drawer storage. When setting up storage systems, apply similar principles used in condo interior layouts, maximize vertical space and keep floor areas clear.
Wall-mounted pegboards or slat walls work great for art supplies, backpacks, or sports gear. They’re easy to install (just hit studs or use proper drywall anchors rated for the load) and fully customizable as the kid grows.
Furniture Selection: Safety, Style, and Longevity
Buy furniture that’ll last more than two years. Solid wood or quality plywood beats particleboard every time, particleboard sags, chips, and doesn’t hold screws well after the first disassembly.
Anchor everything tall. Dressers, bookcases, and wardrobes must be secured to wall studs with furniture anchors or anti-tip straps. According to the Consumer Product Safety Commission, tip-over accidents send a child to the ER every 24 minutes. Use two anchors per piece, installed into studs (not just drywall), and check them every six months as kids grow and start climbing.
For beds, consider a twin or full size instead of a toddler bed. A full-size mattress costs a bit more upfront, but you won’t be replacing it in three years. If space is tight, a twin works fine and leaves more room for play. Make sure the bed frame is sturdy, shake it in the store or after assembly. If it wobbles, add corner braces or L-brackets to reinforce joints.
Desks should have adjustable heights if possible, or at least a seat that can grow. A standard desk height is 28-30 inches: pair it with a chair that puts the child’s feet flat on the floor and elbows at 90 degrees when typing or writing. For younger kids, a 20-24 inch table height works better.
Multifunctional furniture earns its keep. A storage bench doubles as seating and a toy chest. A loft bed with a built-in desk underneath maximizes floor space. If you’re handy, building a simple platform bed with drawer storage is a solid weekend project, just use 2×4 or 2×6 framing and 3/4-inch plywood for the deck.
Creative Decor and DIY Touches to Personalize the Space
Personalization makes a room feel like theirs, not just a showroom. Start with a gallery wall of their artwork, photos, or even a pinboard where they can rotate favorite pieces. Use clip frames or a simple wire-and-clip system to make swapping easy.
DIY projects add character without breaking the budget. A chalkboard wall (use chalkboard paint on one accent wall or a framed section) gives kids a legal place to draw. Magnetic paint underneath chalkboard paint turns the wall into a magnet board, too. Both take a couple coats and a weekend to cure.
Custom shelving adds function and flair. Floating shelves made from 1×6 or 1×8 pine boards and simple brackets take an hour to install and cost under $30 for a set of three. Sand, prime, and paint them to match the room, or stain them for a natural look. Designers often use similar creative decor approaches to layer personality into any space.
Name signs, monogram letters, or vinyl decals are renter-friendly and removable. If you’re cutting your own decals, a basic craft cutter like a Cricut works fine for simple shapes and letters. For a sturdier option, cut letters from 1/2-inch MDF with a jigsaw, sand the edges smooth, and paint.
Textiles, rugs, throw pillows, curtains, are the fastest way to refresh a room. Choose machine-washable fabrics and avoid anything that requires dry cleaning. A 5×7 or 6×9 area rug defines a play zone and softens hard floors. Ideas from kids’ room design galleries often highlight how layered textiles bring warmth and color without permanent changes.
Lighting Design for Play, Study, and Sleep
One ceiling fixture won’t cut it. Kids’ rooms need layered lighting: ambient (overhead), task (desk and reading), and accent (nightlights or decorative).
Start with a dimmable overhead light. A ceiling fan with an integrated light works well in rooms without central air. Install a dimmer switch (a basic Lutron or Leviton model runs under $20 and takes 15 minutes to wire if you’re comfortable with basic electrical work, shut off the breaker first). Dimming helps with bedtime wind-down.
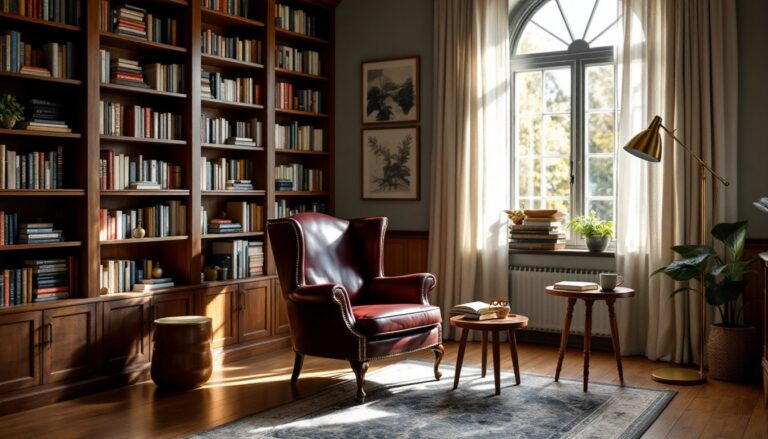
Task lighting is critical for assignments and reading. A desk lamp with an adjustable arm (swing-arm or gooseneck) and an LED bulb rated 450-800 lumens provides enough light without glare. Position it on the side opposite the child’s writing hand to avoid shadows. If you’re adding a new outlet for the desk, make sure it meets NEC spacing requirements (no point on a wall should be more than 6 feet from an outlet). Electrical work beyond swapping a fixture usually requires a permit, check local codes.
For bedside reading, a clip-on or wall-mounted lamp keeps the nightstand clear. LED bulbs are the best choice, they stay cool, last years, and use a fraction of the energy of incandescent bulbs.
Nightlights matter more than you’d think. A plug-in LED nightlight with a warm color temperature (2700-3000K) is easy on the eyes and doesn’t interfere with sleep as much as blue-toned light. Motion-sensor models are handy for midnight bathroom trips. Install them low to the ground to avoid shining in eyes.
If you’re feeling ambitious, rope lighting or LED strips along shelves or under a loft bed add a fun accent and a gentle glow. Just make sure any strips are UL-listed and installed per manufacturer specs. Avoid cheap strips, they overheat or flicker. Similar thoughtful layering appears in modern interior lighting plans across various room types.
Conclusion
A well-designed kids’ room strikes a balance between durability, safety, and personality. Focus on flexible layouts, smart storage, and quality furniture that grows with your child. Most of these projects are well within reach for a motivated DIYer with a drill, a level, and a free weekend. Start with one section, lighting, storage, or paint, and build from there. The room will evolve, but a solid foundation makes those changes easier and less expensive down the road.