You’ve spent months perfecting your home’s design, choosing paint colors, sourcing furniture, tweaking the layout until every corner feels just right. But when you try to photograph it yourself, the images fall flat. Rooms look cramped, colors are off, and that gorgeous natural light you worked so hard to maximize looks washed out. That’s where interior design photographers come in. These specialists know how to capture spaces in ways that make viewers feel like they’re stepping through the screen. Whether you’re a homeowner building a portfolio, a designer showcasing your work, or prepping to list a property, hiring the right photographer can make or break how your space is perceived.
Table of Contents
ToggleKey Takeaways
- Interior design photographers use specialized equipment like tilt-shift lenses, professional lighting, and advanced post-processing to capture spaces in ways smartphone cameras cannot match.
- Professional interior photography improves real estate listings by increasing sale speed and price, while helping designers build portfolios that attract clients based on visual quality.
- Thorough preparation—including decluttering, deep cleaning, controlling lighting, and managing visible cords—ensures the best results during your photography session.
- Interior design photographers typically charge $300–$800 for half-day shoots, with pricing influenced by location, experience level, usage rights, and the number of edited images delivered.
- Finding the right interior design photographer requires reviewing portfolios for matching style, checking references, clarifying usage rights and technical capabilities, and scheduling a consultation beforehand.
Why Hiring an Interior Design Photographer Matters for Your Project
Professional interior photography isn’t just about pointing a camera at a pretty room. It’s about creating images that tell a story, showcase craftsmanship, and highlight design decisions in a way that iPhone snapshots simply can’t match.
For designers, a strong portfolio is non-negotiable. Clients don’t hire based on descriptions, they hire based on what they see. High-quality images communicate attention to detail and professionalism before a single conversation happens. A well-shot portfolio can be the difference between landing a project or watching it go to a competitor with better visuals.
Homeowners benefit too, especially when selling. Real estate listings with professional photography sell faster and often for higher prices. Buyers scroll past poorly lit, awkwardly angled photos. They stop for images that make them imagine living in the space.
Even if you’re not selling, documentation matters. You’ve invested time and money into your home. Professional photos preserve that work and give you high-resolution records of material choices, layout configurations, and finish details that can inform future projects or insurance claims.
Attempting DIY photography rarely saves money in the long run. Smartphone cameras have improved, but they lack the wide-angle capabilities, dynamic range, and color accuracy needed for interior work. You’ll spend hours trying to edit mediocre shots when a pro could have nailed it in one session.
What Interior Design Photographers Do Differently
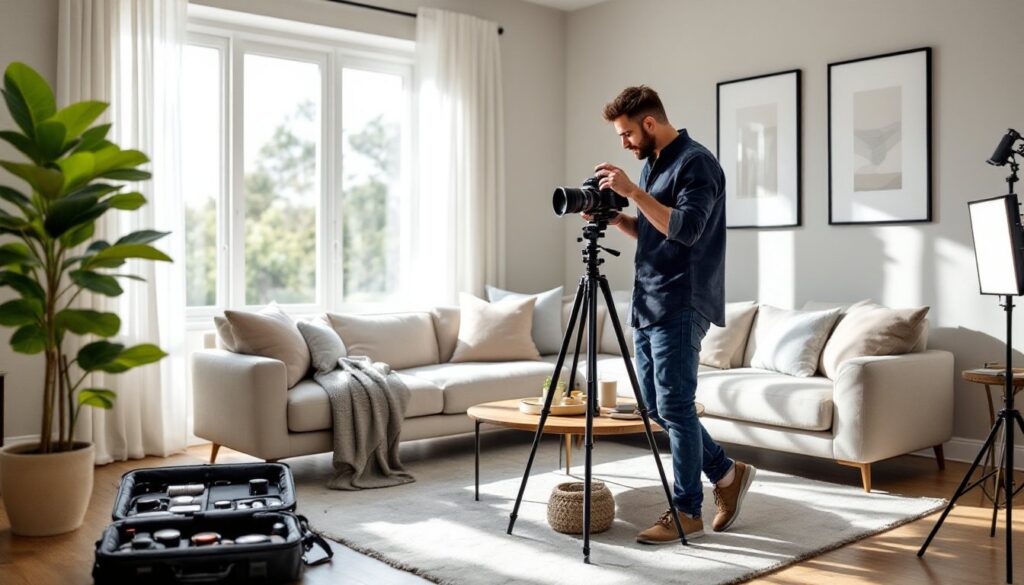
Interior design photographers bring specialized equipment and expertise that general photographers don’t typically have. Their gear includes tilt-shift lenses that correct perspective distortion, making walls appear straight instead of leaning inward. They use tripods for stability and long exposures that capture detail in both bright windows and shadowy corners.
Lighting technique sets them apart. Many pros use flash brackets or strobes to balance ambient light with artificial sources, eliminating harsh shadows and color casts from mixed lighting (think warm incandescent against cool daylight). They understand how to work with natural light cycles, often scheduling shoots during golden hour or overcast conditions when light is sofest and most flattering.
Composition is another differentiator. Professionals know the rules, and when to break them. They frame shots to emphasize architectural features, create depth with layered elements, and use leading lines to guide the viewer’s eye. They’re thinking about how images will be used: tight crops for social media, wide shots for interior design portfolios, verticals for magazine layouts.
Post-processing is where good becomes great. Professionals color-correct to ensure paint and fabrics look accurate, remove distractions like outlet covers or cords, and blend exposures to show both interior detail and outdoor views without blowing out windows. This isn’t Instagram filtering, it’s technical editing that requires software like Lightroom and Photoshop and hours of experience.
Many interior photographers also understand design principles. They recognize when a styling tweak, moving a pillow, adjusting curtains, or hiding a trash can, will improve the final image. They’re collaborators, not just technicians.
How to Find the Right Interior Design Photographer
Start by reviewing portfolios. Look for photographers whose style matches your vision. Some specialize in bright, airy aesthetics: others excel at moody, dramatic lighting. Check if their work includes spaces similar to yours, a photographer who nails industrial interiors might approach a cozy cottage design differently.
Platforms like Houzz connect homeowners and designers with local photographers who specialize in interiors. You can filter by location, read reviews, and view galleries. Houzz also lets you see which professionals have worked together before, which can streamline coordination.
Ask for references and follow up. Contact past clients to ask about punctuality, professionalism, and whether the final images met expectations. Were deliverables on time? Did the photographer respect the space and clean up after the shoot?
Discuss usage rights upfront. Some photographers offer full buyouts, giving you unlimited use of images. Others license images for specific purposes (website only, one-time print use, etc.). Clarify what you’re getting and whether you can share images with other parties, like contractors or magazine editors.
Check technical capabilities. Do they shoot RAW files for maximum editing flexibility? Can they provide images sized for print, web, and social media? Do they back up files during and after the shoot to prevent loss?
Schedule a consultation before committing. A quick phone call or site visit helps gauge whether you’ll work well together. Good photographers ask questions about your goals, intended use, and timeline. If someone seems rushed or disinterested, keep looking.
Preparing Your Space for a Professional Photo Shoot
Decluttering is non-negotiable. Remove everyday items that don’t contribute to the design story: mail piles, charging cables, pet bowls, kitchen appliances you don’t use daily. Clear countertops, nightstands, and coffee tables to about 20% of their normal load. A vase or a couple of books reads as intentional: six remote controls and a stack of magazines reads as chaos.
Deep clean everything. Dust shows up in photos, especially on dark surfaces and under raking light. Wipe down baseboards, vacuum rugs, clean windows inside and out (smudges and water spots are magnified in professional images), and polish reflective surfaces like mirrors and glass tables. If you have pets, lint-roll upholstery and vacuum twice.
Straighten and style deliberately. Fluff pillows, smooth bedding, and align furniture. Check that artwork is level, photographers will notice a crooked frame, and fixing it in post-production is annoying. Style open shelving with a mix of heights and textures, but avoid overstuffing. Negative space is your friend.
Control lighting. Replace any burnt-out bulbs and ensure all bulbs in a room match in color temperature (measured in Kelvin). Mixing warm (2700K) and cool (5000K) bulbs creates color casts that are hard to correct. Discuss with your photographer whether to leave lamps on or off, many prefer to control lighting themselves.
Manage cords and outlets. Tape down or hide electrical cords. If you can’t remove them entirely, at least make them less obvious. Some photographers will edit out visible outlets and switches, but it’s easier (and cheaper) if you minimize distractions beforehand.
Prep outdoor views. If your space includes windows with views, tidy up visible outdoor areas. Mow the lawn, move trash bins, and close neighbors’ garage doors if possible. For condo interiors with city views, time the shoot to avoid harsh midday glare or total darkness.
Communicate special requests. Tell your photographer in advance if there are features you want highlighted, custom millwork, a backsplash detail, a specific furniture piece. They can plan shots and lighting accordingly.
What to Expect During the Photography Session
Most interior shoots last 2 to 4 hours, depending on the number of rooms and complexity. Photographers typically work methodically, setting up each shot with precision. Don’t expect rapid-fire clicking: a single image might take 10-15 minutes to compose, light, and capture.
Your photographer will likely start with a walk-through to identify angles and lighting conditions. They’ll note which rooms get the best natural light at what times and plan the shooting order accordingly. Morning light in east-facing rooms, afternoon glow in west-facing spaces, it all factors in.
Expect some rearranging. Professionals often shift furniture slightly to improve sightlines or remove items that create visual clutter. A chair might get angled, a lamp repositioned, or a decorative object moved to balance the frame. This is normal and part of their process.
You may see them use supplemental lighting. Even in bright rooms, photographers add strobes or continuous lights to fill shadows, highlight textures, or balance window light. They’ll often shoot bracketed exposures, multiple shots at different brightness levels, then blend them in post-production for perfect exposure throughout the frame.
Stay available but out of the way. Your photographer might need you to open blinds, turn on a fireplace, or answer questions about the space. But hovering or offering constant input can slow things down. Trust their expertise and step back unless asked.
Some photographers work alone: others bring an assistant to manage gear and lighting. If you have pets or small children, plan to keep them occupied in another part of the house. Movement, noise, and curious paws interfere with the process.
Toward the end, review a few shots together if possible. Many pros will show you images on the back of the camera (not final edits, just compositional checks) to ensure they’ve captured what you wanted. This is your chance to request an additional angle or a detail shot you hadn’t discussed.
How Much Interior Design Photography Costs and What Influences Pricing
Expect to pay $300 to $800 for a half-day shoot covering a typical home, with prices climbing to $1,500+ for full-day sessions or high-end editorial work. Rates vary widely based on location, photographer experience, and deliverables.
Geographic region is a major factor. Photographers in major metros like New York, San Francisco, or Los Angeles charge more due to higher costs of living and competitive markets. In smaller cities or rural areas, rates often run 30-50% lower.
Experience and portfolio quality drive price. A photographer with years of published work in outlets like Elle Decor or Dwell commands premium rates. Newer shooters building their portfolios may offer discounts or even TFP (time-for-prints) arrangements where both parties use images for marketing.
Number of final images affects cost. Some photographers charge per room or per edited image: others include a set number in their base rate and charge extra for additional shots. Clarify how many images you’ll receive and whether outtakes or RAW files are available.
Licensing and usage rights impact pricing. A shoot for personal use (homeowner documentation) costs less than commercial use (designer marketing, magazine publication). Exclusive rights or buyouts increase the fee since the photographer gives up future licensing income.
Editing and retouching are usually included, but extensive requests, removing wires, swapping out art, or major color corrections, may incur additional charges. Ask what level of post-production is standard and what costs extra.
Travel and logistics add up. If your property is outside the photographer’s normal service area, expect mileage fees or travel time charges. Rush timelines (needing images within 48 hours instead of the standard 1-2 weeks) often come with expedite fees.
Some photographers offer packages that bundle shoots with interior styling services, which can be cost-effective if your space needs finishing touches before the camera comes out. Bundling saves coordination time and often money compared to hiring separately.
Conclusion
Hiring an interior design photographer is an investment that pays dividends whether you’re building a professional portfolio, selling a property, or simply documenting your hard work. The right pro brings technical skill, creative vision, and an understanding of how spaces translate into compelling images. Do your assignments, prepare thoroughly, and communicate clearly, you’ll end up with photos that do justice to the space you’ve created.