Before you knock down that wall, repaint the living room, or order custom cabinetry, it pays to see what you’re getting into, literally. 3D renderings have become an essential tool for homeowners planning renovations, additions, or full-scale remodels. Instead of relying on flat floor plans or mood boards, these digital mockups let you walk through your future space before the first nail gets hammered. They reveal sight lines, lighting issues, and proportion problems that sketches can’t catch. Whether you’re tackling a kitchen gut job or furnishing a bonus room, 3D renderings reduce costly mistakes and buyer’s remorse.
Table of Contents
ToggleKey Takeaways
- 3D renderings for interior design provide photo-realistic, eye-level views of your future space, revealing proportion issues, lighting problems, and design flaws that flat floor plans cannot catch.
- Professional 3D renderings cost $200–$800 per room, while DIY tools like SketchUp Free and Planner 5D offer budget-friendly alternatives for simple projects, though they require a learning curve.
- Accurate measurements, real product specifications, and specific material details are essential—garbage input produces garbage output, so verify cabinet depths, sofa widths, and ceiling heights before rendering.
- Test multiple lighting scenarios and viewing angles in your 3D renderings to catch cramped corners, appliance placement issues, and how natural and artificial light will affect colors and finishes.
- Avoid choosing materials based solely on rendering visuals; always order physical samples and view them in your actual space under your real lighting conditions to prevent costly installation surprises.
- For complex projects involving structural changes, custom cabinetry, or code compliance, hire a professional designer rather than relying on DIY renderings to ensure building codes are met and structural integrity is verified.
What Are 3D Renderings in Interior Design?
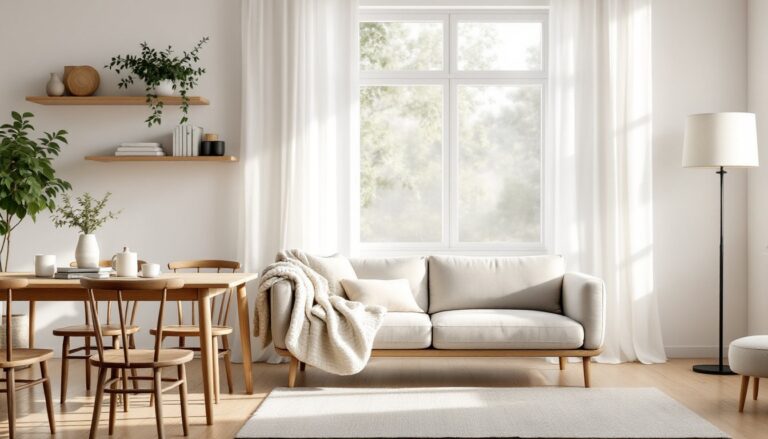
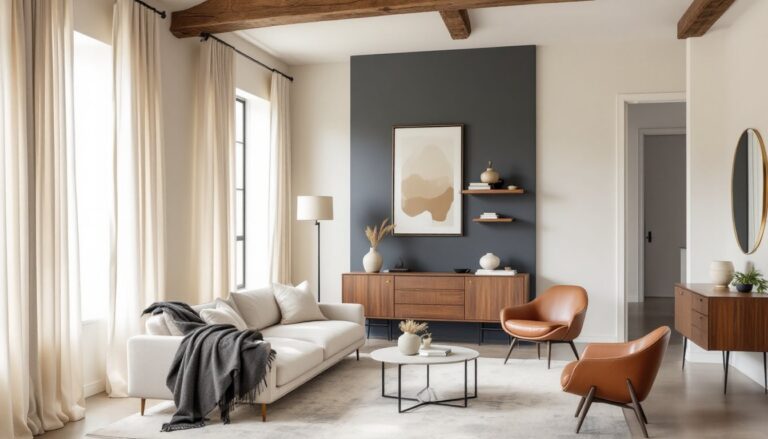
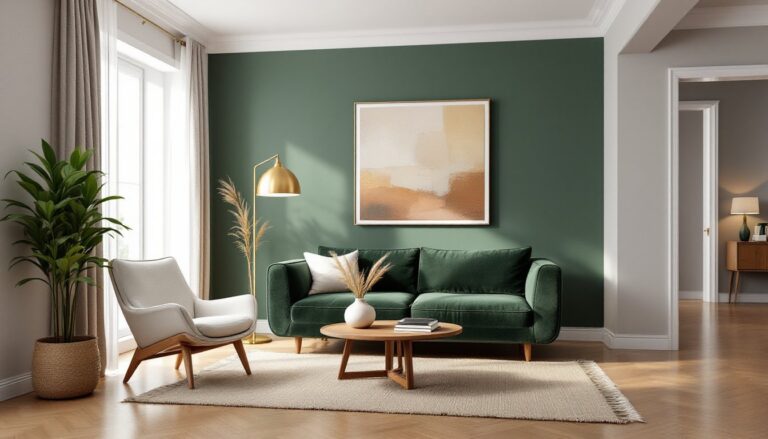
A 3D rendering is a computer-generated image that depicts a room or space in three dimensions, showing depth, texture, materials, and lighting as they’ll appear in real life. Unlike a traditional floor plan (which shows layout from above) or an elevation (a flat side view), renderings provide a realistic, eye-level perspective.
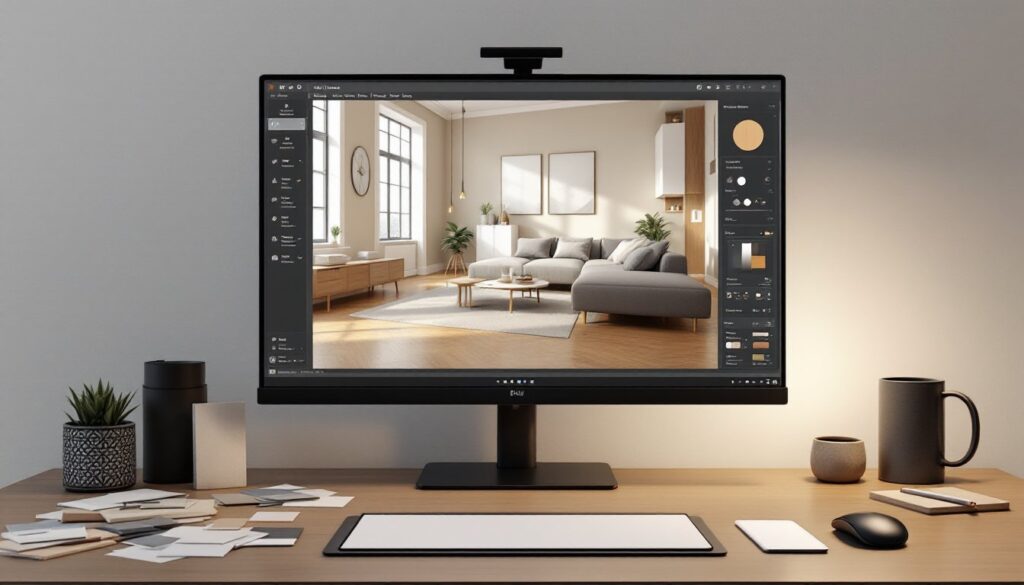
Most renderings are created using specialized software like SketchUp, Blender, Revit, or proprietary tools from design firms. The designer builds a digital model of the space, applies finishes, paint colors, flooring, countertops, tile, and places furniture, fixtures, and lighting. The software then “renders” the scene, calculating shadows, reflections, and textures to produce a photo-realistic image.
Some renderings are static images: others are 360-degree panoramas or virtual walkthroughs that let you navigate the space on a screen or in VR. High-end renderings can even simulate time of day, showing how natural light shifts from morning to evening.
For DIYers and homeowners, the key benefit is clarity. You can see exactly how that subway tile backsplash will look against white shaker cabinets, or whether a sectional sofa will overwhelm a 12×14 living room. It’s a visual proof-of-concept before you commit to materials or labor.
Why Use 3D Renderings for Your Home Renovation or Design Project?
Catch design problems early. A rendering reveals proportion issues, like an oversized island blocking a galley kitchen’s flow, that aren’t obvious on paper. You’ll spot awkward door swings, tight clearances, and furniture that doesn’t fit long before demolition starts.
Communicate clearly with contractors and tradespeople. Handing your electrician a rendering with exact sconce placement and pendant heights eliminates guesswork. Tile setters can see the grout color and layout pattern. Painters know which wall gets the accent color. Fewer change orders mean fewer cost overruns.
Test finishes and materials risk-free. Swap paint colors, flooring species, or countertop materials with a few clicks. Compare quartz vs. granite or matte vs. gloss tile side-by-side. This is especially valuable for pricey or custom materials where returns aren’t an option.
Get buy-in from family or co-owners. A realistic image settles debates faster than describing your vision. If your partner can see the open-concept layout in 3D, they’re more likely to sign off on removing that load-bearing wall (after an engineer approves the beam, of course).
Plan lighting and electrical accurately. Renderings help you position recessed cans, pendants, and outlets based on furniture layout and task zones. This matters during rough-in, when relocating a box costs time and drywall repair.
Homeowners planning condo interior design projects find renderings especially helpful for maximizing tight spaces and visualizing built-ins or multifunctional furniture.
How to Get 3D Renderings for Your Interior Design Project
You have two main routes: hire a professional or use DIY software. Each has trade-offs in cost, quality, and learning curve.
Hiring a Professional Designer vs. DIY Rendering Software
Professional designers and 3D rendering specialists typically charge $200–$800 per room, depending on complexity and turnaround time. High-end firms may bundle renderings into a full design package. You’ll get polished, photo-realistic images and can request revisions. Many interior designers now include basic renderings as part of their service, especially for kitchens, baths, and whole-home remodels. If your project involves structural changes or custom millwork, a pro’s expertise is worth the investment.
DIY rendering software has become surprisingly capable. Tools like SketchUp Free (browser-based), Planner 5D, Roomstyler 3D Home Planner, and HomeByMe let homeowners build simple models and apply finishes. Most have free tiers: paid plans ($10–$50/month) unlock higher-resolution exports and expanded material libraries.
Expect a learning curve. You’ll need to input accurate room dimensions (measure twice), understand how to manipulate views, and have patience for rendering times. DIY renderings won’t match the realism of a professional’s work, but they’re enough to test layouts and finishes for straightforward projects like a guest bedroom refresh or basement rec room.
For complex jobs, load-bearing wall removal, multi-story additions, or custom cabinetry, hire a pro. For cosmetic updates and furniture placement, DIY tools are a budget-friendly option.
Some contractors and kitchen/bath showrooms offer in-house rendering services, often free or low-cost if you’re buying materials through them. Ask during the quote phase.
Best Practices for Working with 3D Interior Renderings
Start with accurate measurements. Use a laser measure or tape to record room dimensions, ceiling height, window and door sizes, and any offsets or soffits. Note the location of electrical boxes, HVAC vents, and plumbing rough-ins. Garbage in, garbage out, if your model is off by six inches, your furniture won’t fit in real life.
Gather real product specs. Don’t guess at cabinet depth or sofa width. Pull spec sheets from manufacturers or measure existing pieces. Standard base cabinets are 24 inches deep: wall cabinets are 12 inches. A typical sofa runs 32–40 inches deep. These details matter when clearances are tight.
Specify actual materials and finishes. If you’re set on a specific tile, upload a photo or texture to the software. Use the manufacturer’s color codes for paint, Sherwin-Williams Agreeable Gray looks different from generic “light gray.” The more precise you are, the fewer surprises at installation.
Test multiple lighting scenarios. Renderings can simulate different times of day and light sources. Check how your white walls look under warm LED recessed lights versus cool daylight. This helps you choose bulb color temperature (2700K vs. 3000K vs. 4000K) before you buy fixtures.
Request different angles and views. A single rendering from the doorway might hide a cramped corner or an awkward appliance placement. Ask for views from multiple vantage points, including seated eye level if you’re designing a living or dining area. Many platforms exploring design inspiration and ideas showcase renderings from various perspectives to highlight spatial flow.
Print or view renderings at full scale when possible. Viewing a rendering on your phone doesn’t convey scale. Print key images at 11×17 or view them on a large monitor while standing in the actual room. This gut-check reveals whether that king bed will dominate the space or fit comfortably.
Common Mistakes to Avoid When Using 3D Renderings
Ignoring scale and clearances. A rendering can make a room look bigger than it is. Always verify that walkways meet code minimums (typically 36 inches in hallways, 42–48 inches in kitchens for work aisles). Leave space for drawers and doors to open fully, base cabinet drawers need at least 3 feet of clearance in front.
Overlooking lighting realism. Default rendering lighting often looks flat or overly bright. If you’re relying on natural light, consider window orientation and obstructions (trees, neighboring buildings). For artificial lighting, match the rendering’s fixture count and wattage to your electrical plan. Underpowered lighting ruins a beautiful design.
Forgetting about code and structural realities. A rendering might show an open kitchen with no visible support, but if you’re removing a load-bearing wall, you’ll need a steel beam or LVL header and posts. Factor that into your design, and budget, early. Some projects require permits and engineer-stamped drawings: a rendering alone won’t satisfy the building department.
Choosing materials based solely on the rendering. Colors and textures on-screen don’t always match reality. Order physical samples, paint chips, tile samples, flooring planks, and view them in your actual space under your lighting conditions. A glossy tile that looks elegant in a rendering may show every footprint in a high-traffic mudroom.
Skipping the professional when you need one. DIY tools are great for simple projects, but if your renovation involves plumbing relocation, structural changes, or custom built-ins, hire a designer or architect who understands building codes and can coordinate with trades. Those evaluating the nuances of spatial design often discover that professional input saves more than it costs.
Not budgeting for rendering revisions. Whether DIY or professional, expect to tweak your design. Materials go out of stock, budgets shift, or you change your mind. Build revision time and cost into your timeline. Most pros include one or two revision rounds: additional changes cost extra.
Conclusion
3D renderings turn abstract ideas into concrete plans, reducing guesswork and expensive do-overs. They’re not just for high-end remodels, even a modest room refresh benefits from seeing the layout and finishes before you commit. Whether you hire a designer or go the DIY route, invest time in accurate measurements, real materials, and honest assessments of what you can handle. A solid rendering, paired with code-compliant planning and quality prep work, sets the stage for a project that looks as good in your home as it did on-screen.